While I sit in the airport lounge on a four hour layover, I thought I’d take a little time to put down some recent impressions on the iPhone. You see, for the past two weeks I have been traveling without a camera. As such.
Yet I still have my phone. And I found numerous photo opportunities, and the only recourse I had was to pull out my phone.
As has been my experience with cameras (both film and digital) in the past, I have found that activating the shutter is only the second step in photography. The first is composing the picture. The third is developing the photo.
Right now, software developers are releasing next-generation photo editing programs, and it’s almost hard to keep up. Just recently, new and beta versions of ON1 Photo RAW, Aurora HDR and Adobe Lightroom have seen updated versions with new features (and new licensing schemes, in some cases). Both have released beta versions, and ON1’s beta is public, meaning anyone can download it for free!
My recent travels have taken me to major cities: New York and Boston. Armed with only my iPhone 6s and a laptop with photo editing software, I managed to capture some very nice photos.
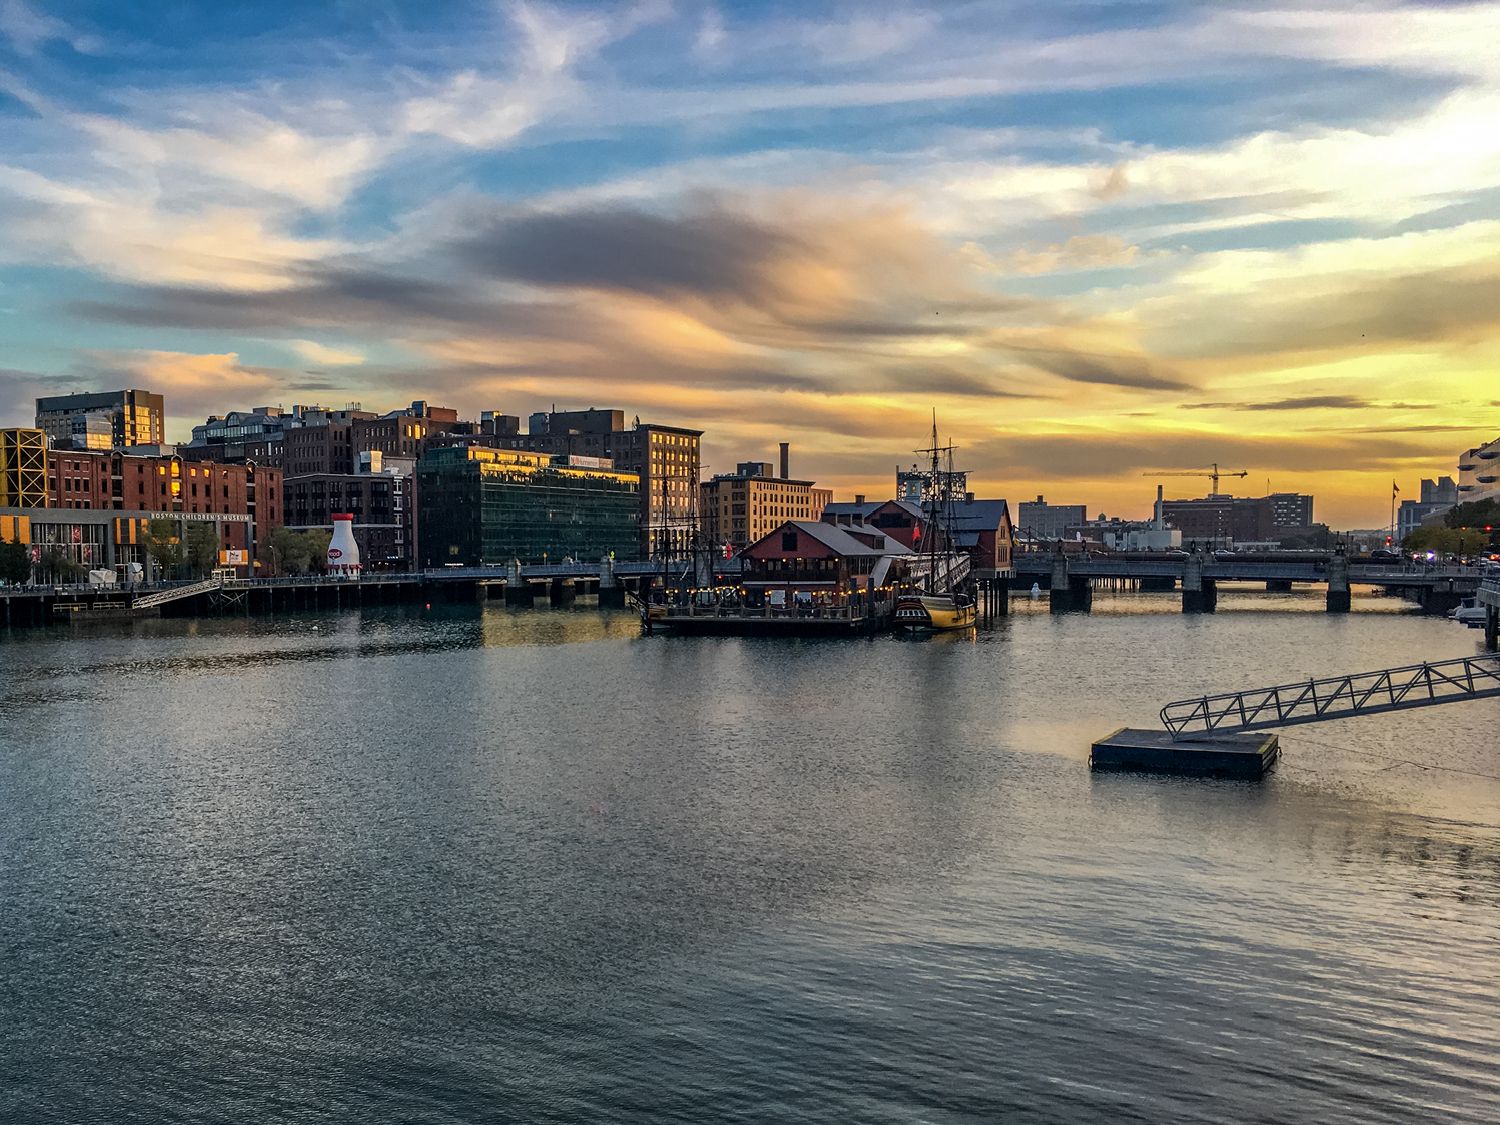
Fort Point, Boston, MA at dusk
Taken from the Evelyn Moakely Bridge.
Artist Gianna Stewart created this foam “iceberg” that “floats” in the water.
In the photo above, I used Adobe’s new Lightroom CC (the old version is now named Lightroom CC Classic). When shooting a wide shot, Apple’s iPhone exhibits pronounced barrel distortion. I used the Geometry tool in Lightroom to straighten everything — with a single slide and a click!
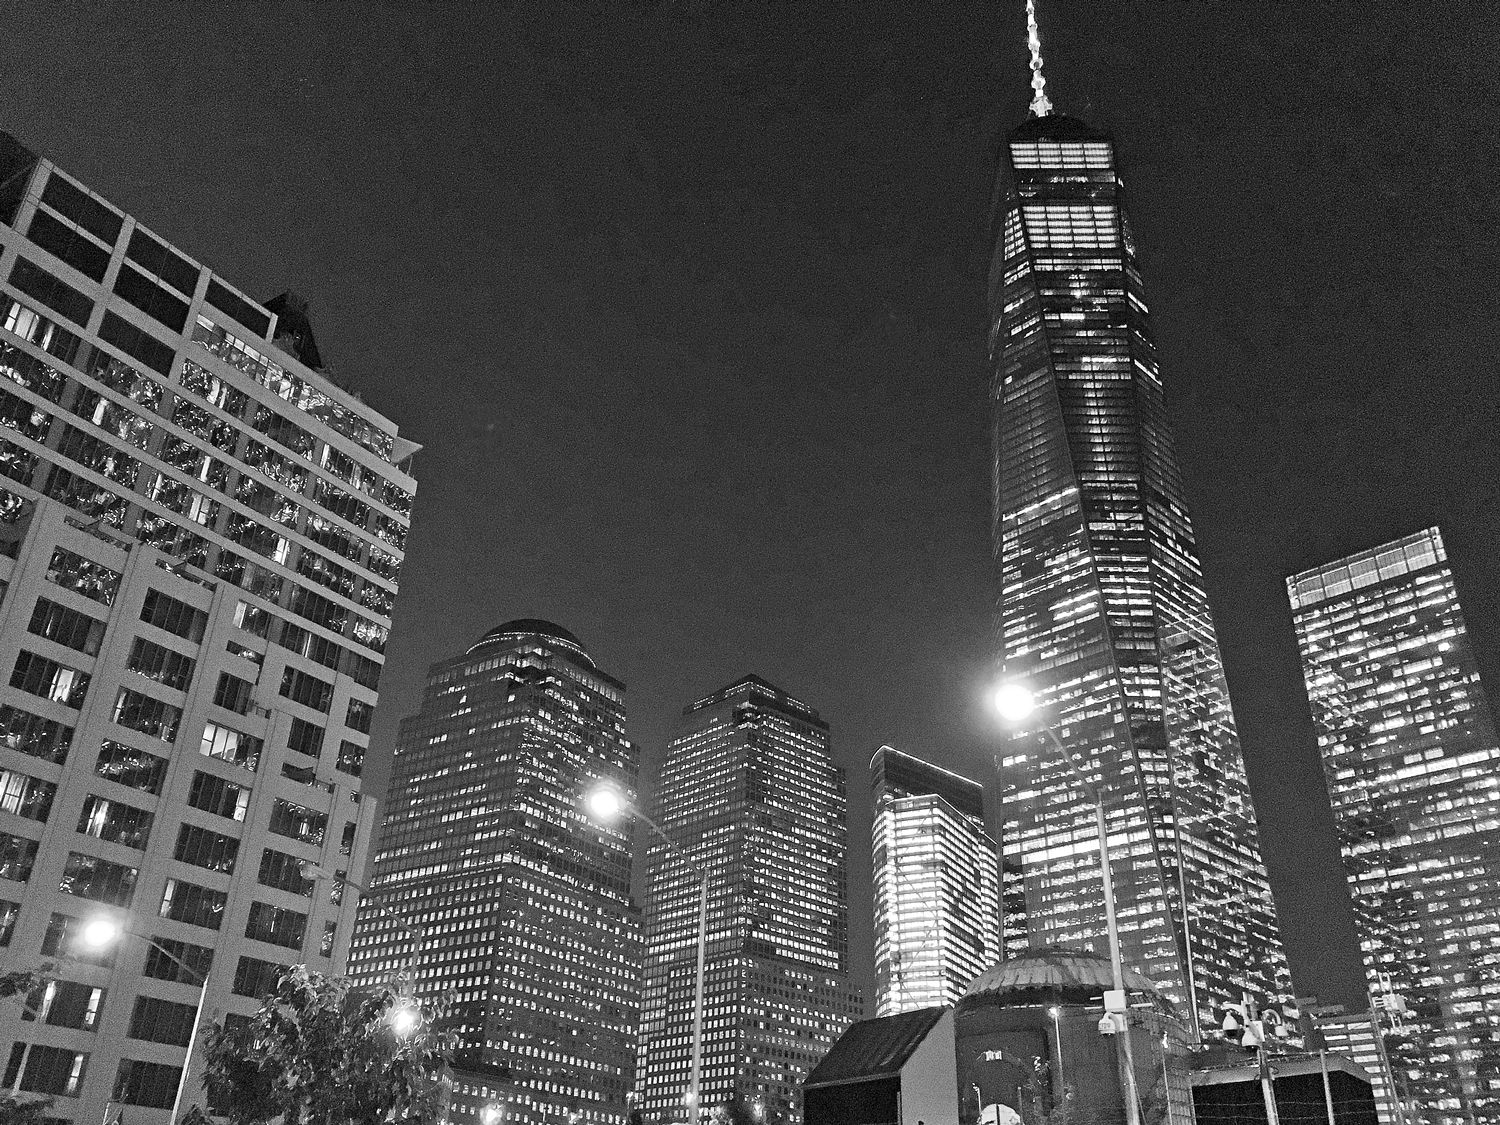
Manhattan Skyline in Black and White from the original color photograph.
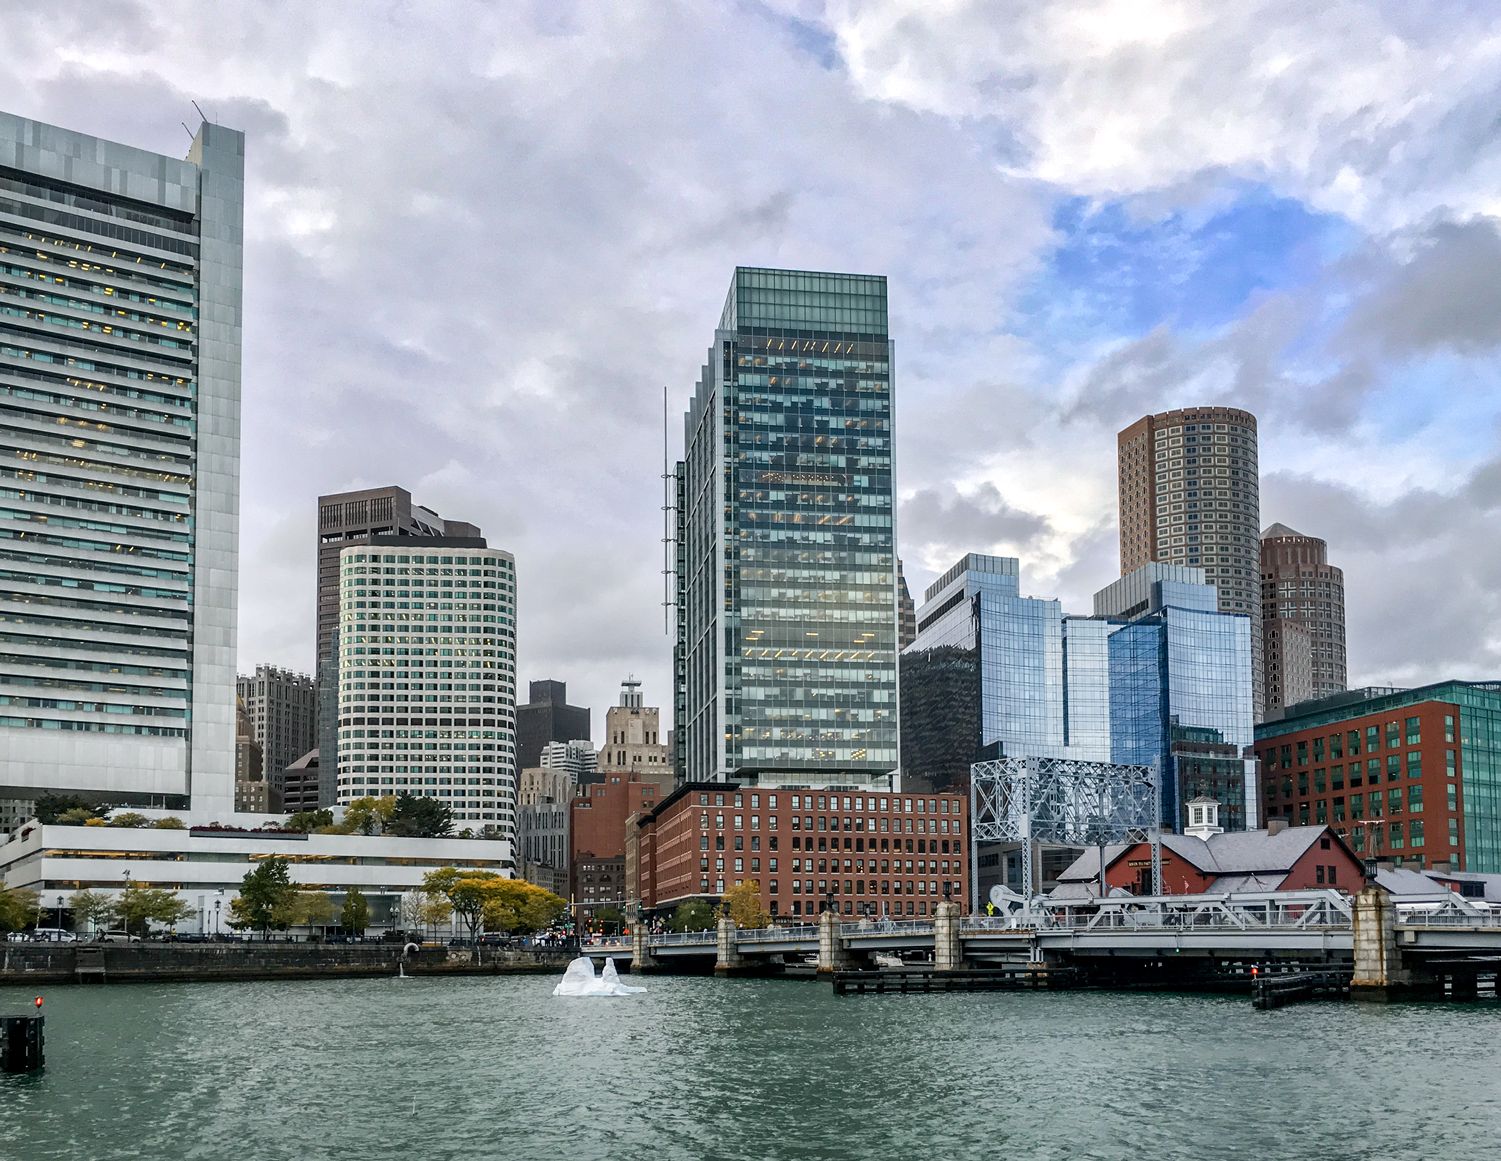
Another example of straightening (I may need to adjust this one a bit more).
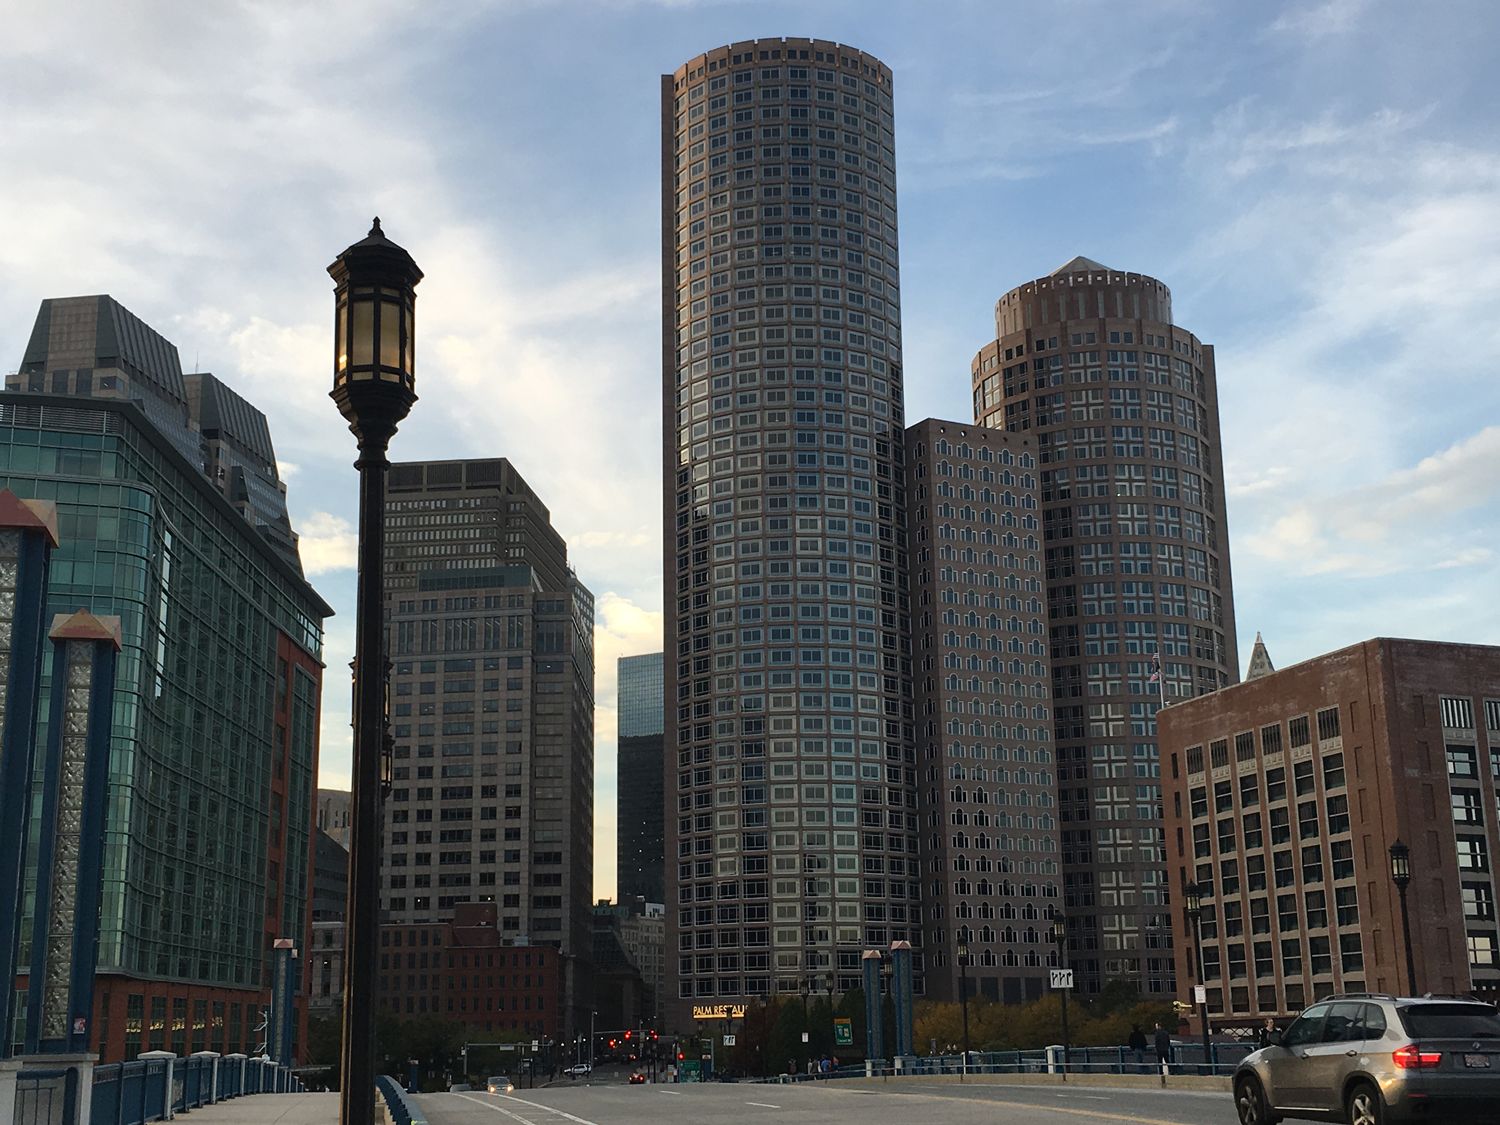
Boston Financial District
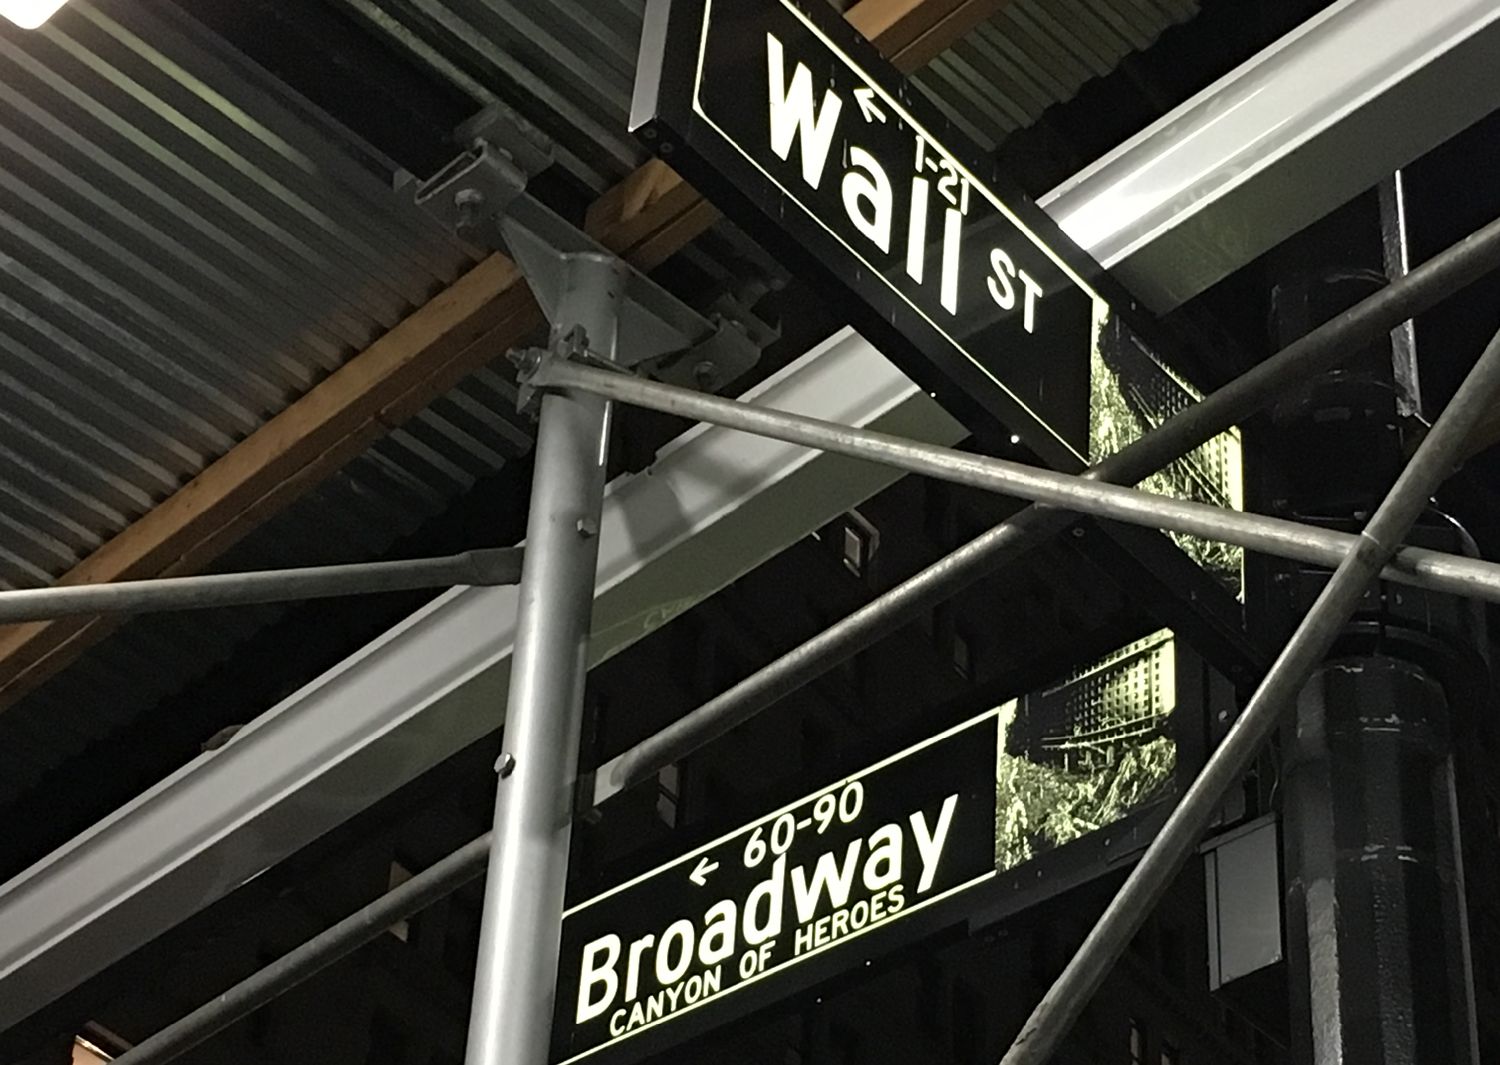
Finally, an “arty” photo I snapped on the spur of the moment. What two streets typify New York City? (well, maybe Madison Ave. But you take what you can get).


 I was alerted to a new version of this program and decided to check it out.
